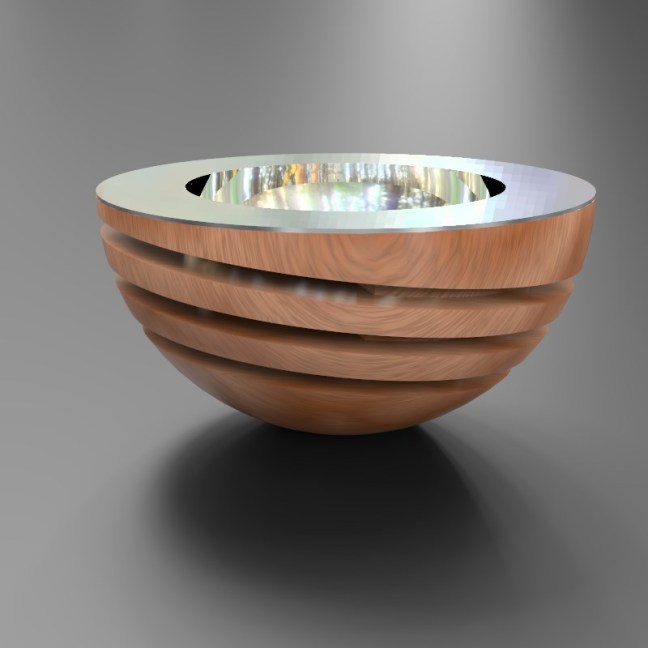
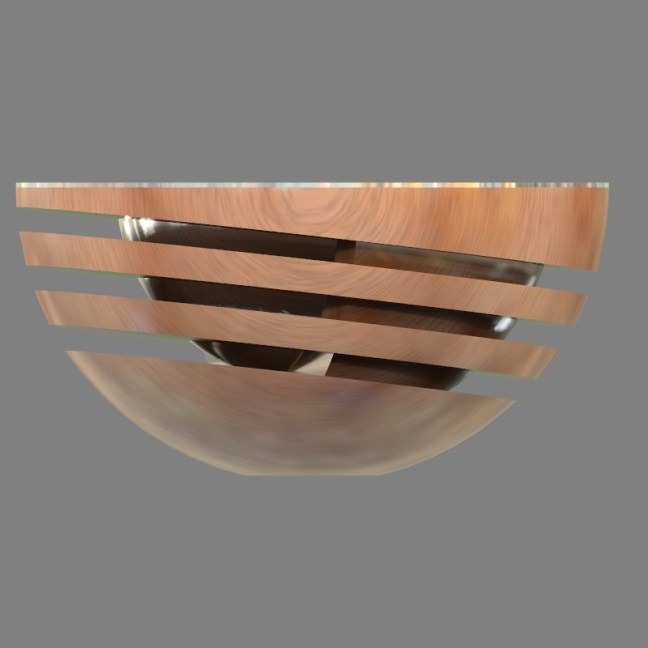
Carbon fibre bowl 

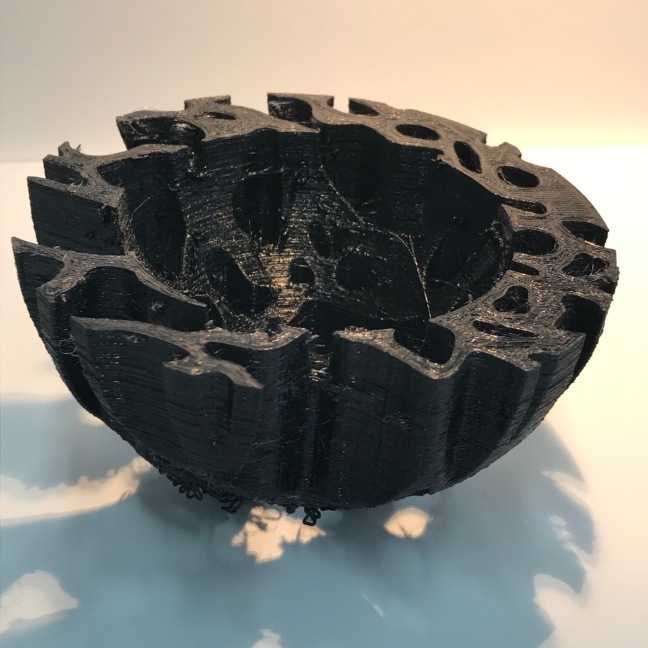
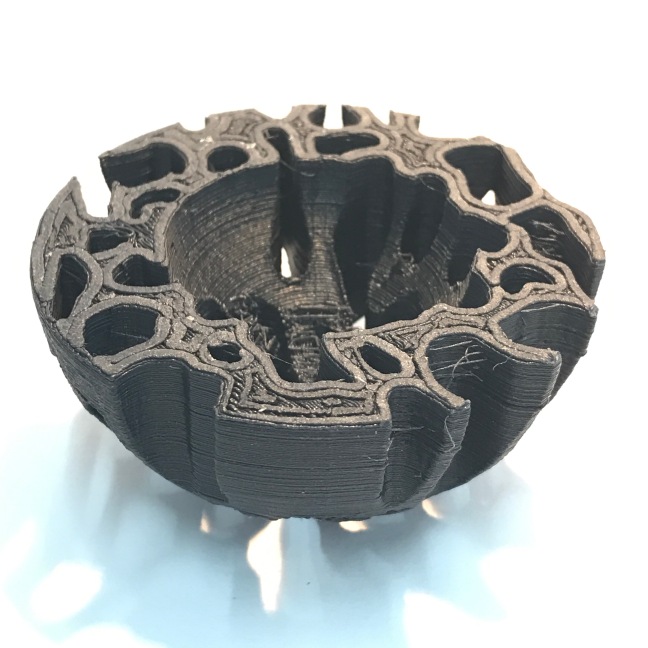
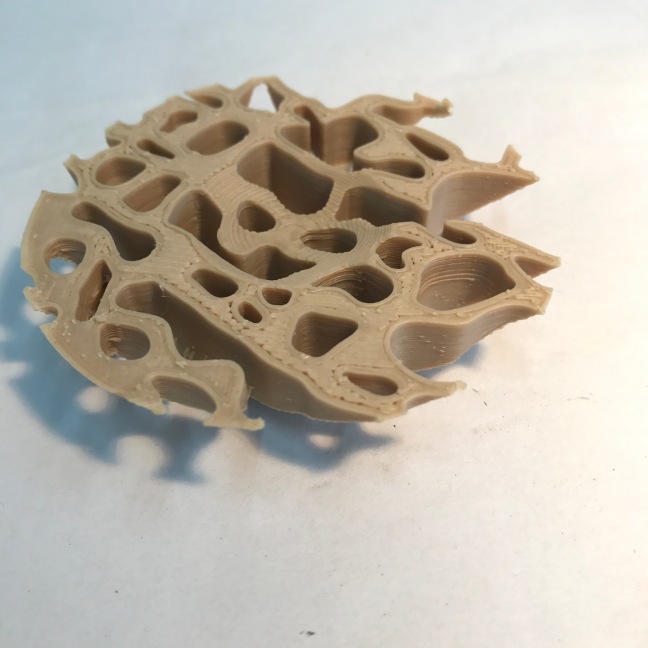
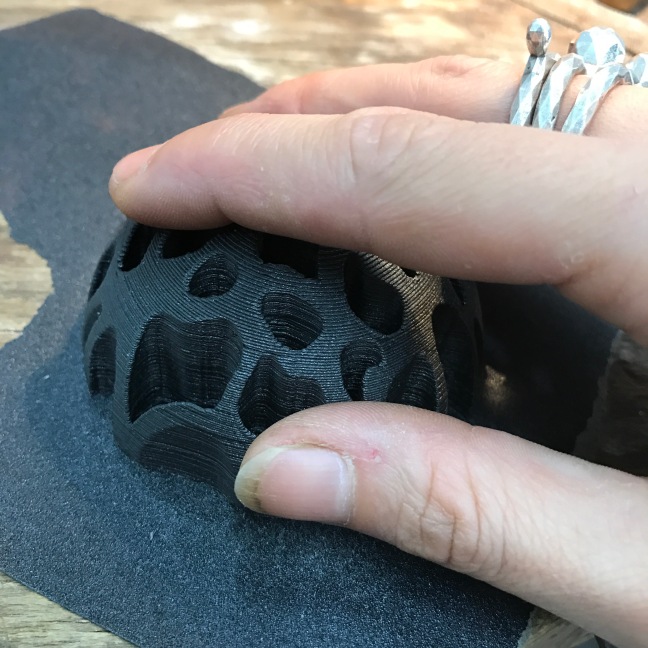
The first of my new filaments I tested was the carbon fibre and I printed this on my home M3D printer.  It printed very easily and the support material was very easy to remove.  The finished material gave very fine lines and felt quite strong.  


I sanded down the top surface to see what the material would look like polished up.  I was really happy with the finish.  It gave a great shine.  
I decided that for this piece I would hand raise the other sections of the bowl using my 3D printed hammers.  ​

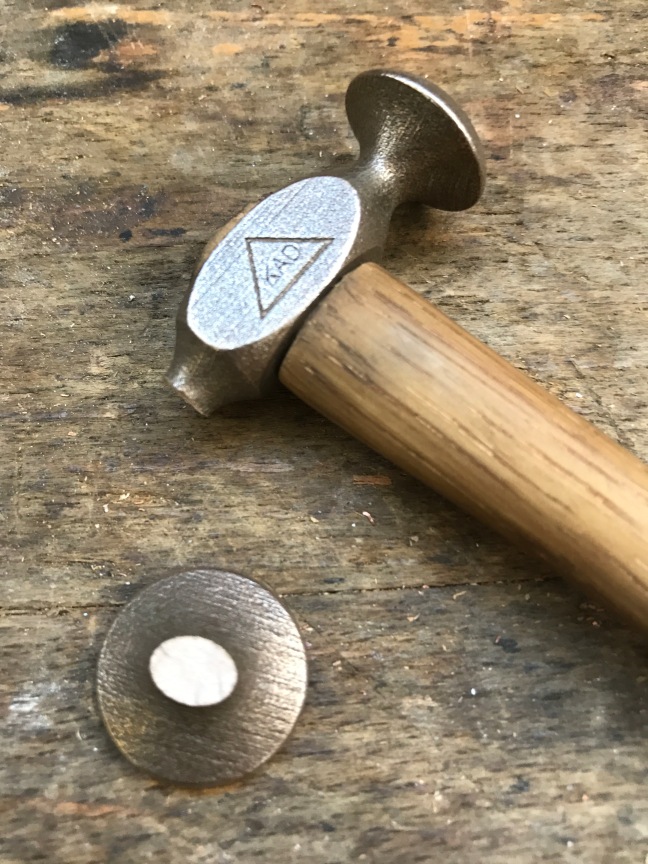
I used my laser sintered hammer initially to  planish the bowl.  Unfortunately this broke very soon in to the process.  The internal section looked very powdery due to the two part green process that Shapeways use.  I think this makes the metal much weaker.  I am going to try and reprint this on the direct steel sintering machine in Aberdeen and see if that makes any difference.  
 

I raised a smaller inside bowl to the piece in the same way.  However I had to use a regular planishing hammer to finish off both.  I must confess however that as the inside bowl was so small and fiddly I hand raised it to a certain point and then used the larger doming punch in the department to get the final shape.
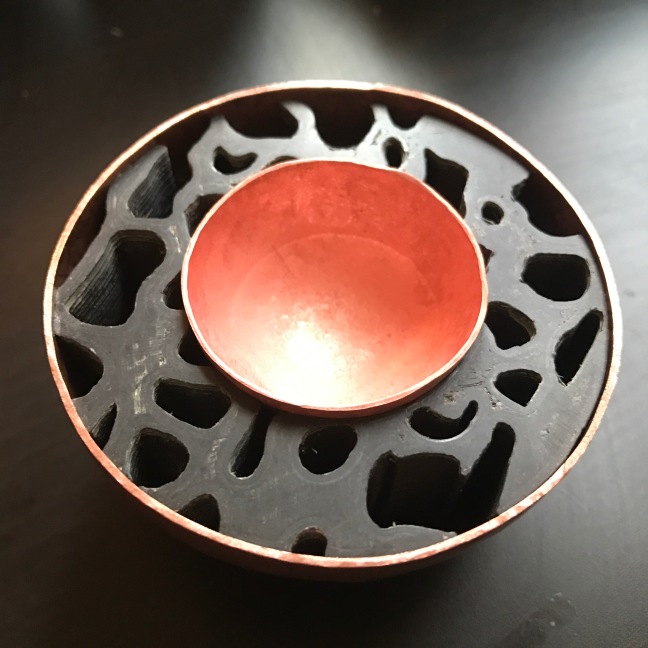


I decided I liked the contrast of copper and black and oxidised the inside of the larger bowl and outside of the smaller.  I used a two part resin and mixed this in to the bowl.  I am regretting not testing this first as it seemed to react.  I am hoping that it will dry enough to sand back and make it look good but if this doesn’t work I will have to re-make it and test another type of resin. The other reason it may have reacted like this would be if there had been some moisture in the bowl before I added the resin.​


Mixed 3D print tests

For the last ​few days I have been testing various 3D printing filaments. The first one I tested was carbon fibre mixed with PLA.  I printed it on a low quality setting, it took about eight hours to print and ran very smoothly.  The support material was very easy to remove.


I tested tough flexible filament in black.  This also printed off very well.  The great thing about this filament was that it fed into the printer with ease and doesn’t snap like some harder PLA.
The final printed object was flexible and I was able to squash it and it returned back to its original form.  I wasn’t particularly happy with the finished print quality though.  It was a bit messy and the support material was very difficult to remove due to the rubbery nature of the material.


I tested a heat change filament.  My home M3D printer had difficulties with this so I printed on the Up machine.  This worked well and printed smoothly and in a good quality.  The support was easily removed.  Although I don’t like the colour the change to white when held in the hand. I have another colour change filament to try which is a little more subtle.

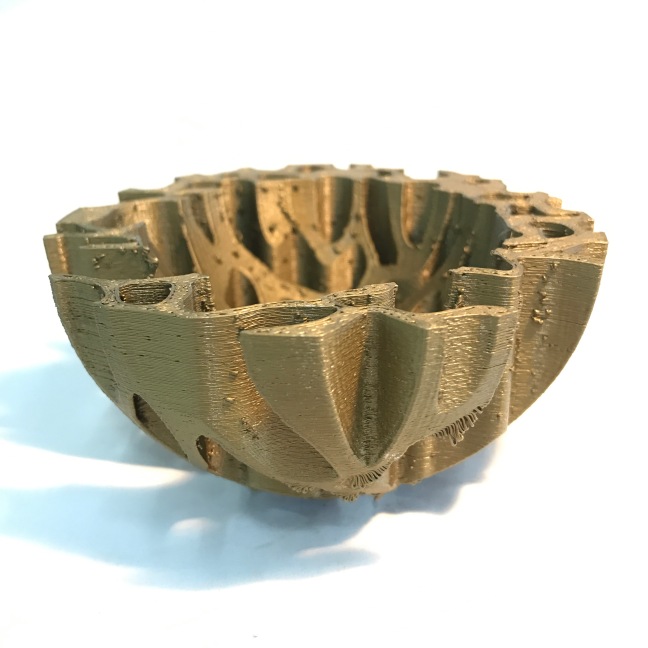
My favourite filament out of this range has to be the brass fill PLA.  I printed this on the UP.  It printed beautifully and the support was easy to remove.  The piece has a really nice weight and sparkles like brass in the sun light.

I also printed a wood fill version.  Initially this was printed on the UP with 1.75mm filament.  This clogged up the machine so it was printed on the larger printer in a thicker filament which worked.  The finished item smells like wood.  When filed it feels like a cross between wood and plastic.  The bowl has a nice weight but I don’t like the messy nodules the printer has left in some areas.  

Mixed material bowls

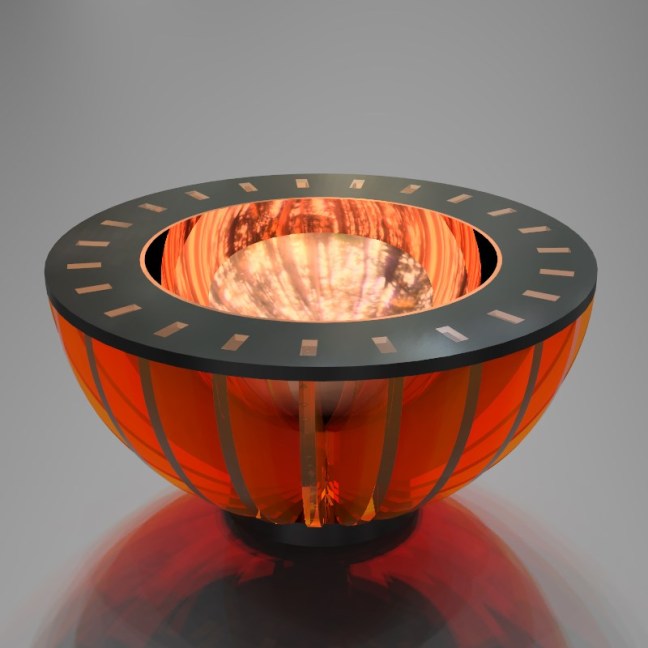
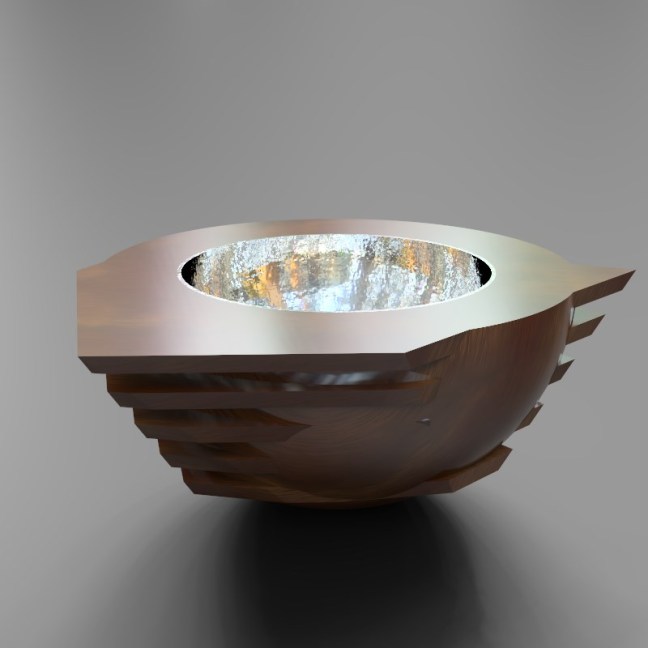
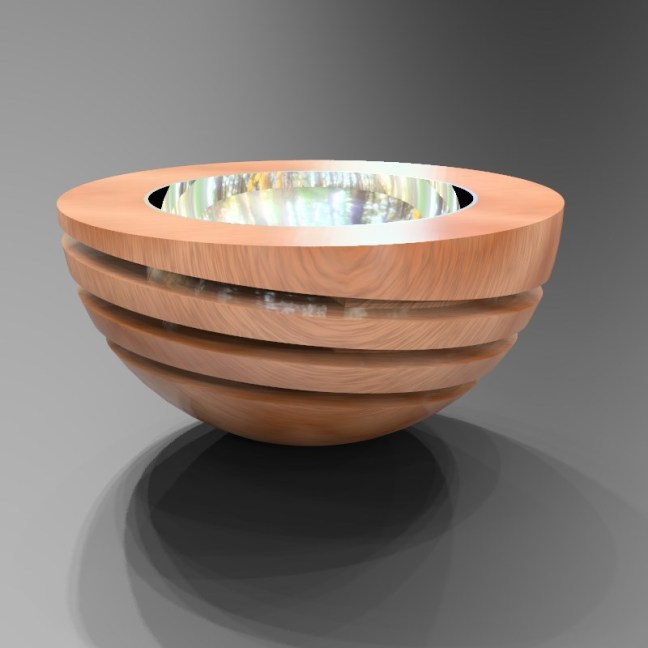
I have been spending the last few weeks designing various bowls that I can test materials with.  I plan to make all of the outside sections through direct processes such as laser cutting, syntering and 3D printing.  All the internal bowls I plan to make using traditional techniques only using modern technology to make the tooling.
Laser cutting ideas:

laserbowl1laserbowl2

Laser syntering in steel:

steelsteel2steel3

CNC milling ideas:

walnutbowl1walnutbowl2walnutbowl3walnutbowl4walnutbowl5