Crochet Bowls

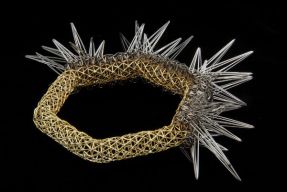
Today I got my crochet bowls back from the kiln.  I am very happy with the glazes and certain elements of them.  I like how they have transformed from CAD into something organic and handmade.

I have made one big mistake in the making of these and that is that I used porcelain with a much lower firing temperature glaze.  The result of this is that over time the glazes will crack.  Next time I will be buying in some earthen wear slip to try and this should stop them breaking.


Bowl mold

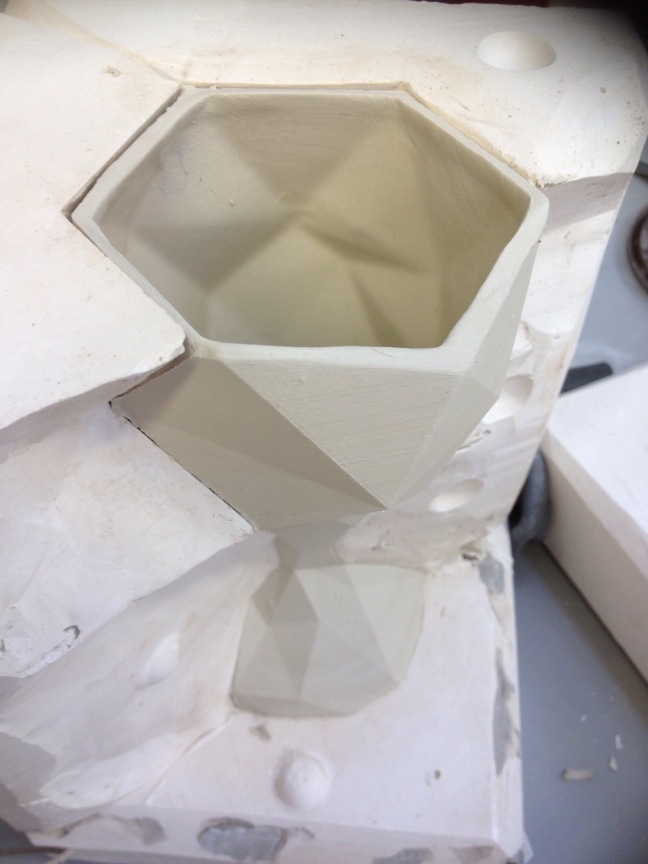
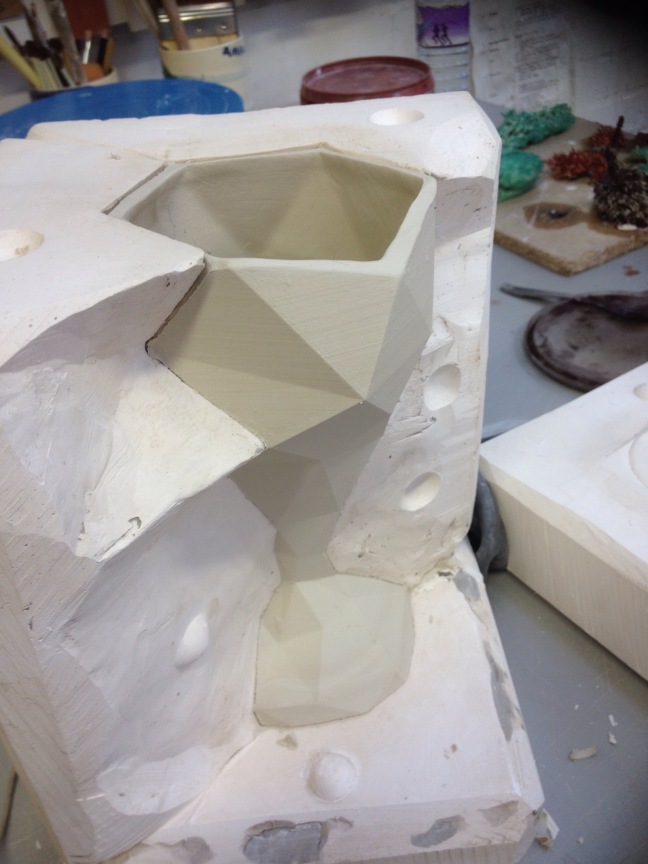
This week I have been working on making the slip cast mold for my bowl.  The bowl is a 3 part mold as I wanted to keep the linear details left over from the 3D print in the mold.


I had a small disaster, when I giggled the mold to get the air bubbles out the plaster I hadn’t used enough clay to seal the mold and I had a bit of a leak ok the floor.  Luckily I managed to plug it up pretty quick with clay from the outside and I had enough plaster left to fill the mold back up top level.

I used a round piece of wood to create a reservoir above the bowl.  This will make the walls all be equal and will make cutting the clay out the mold easier after.

I am really happy with the finished mold and I have left it to dry for a week.  I feel I am getting much neater and more confident at making molds and I really hope it works next week.

Crochet and Ceramics

Over the weekend I got into my crochet again in a big way.  I first started by making round cushion covers.  After making a few and realising I was going wrong somewhere they started to turn into bowl shapes.  This then gave me the idea to slip cast them to see if I could create functional bowls with them.


Yesterday I tried slip casting them in Porcelain.  I made one with para chord which I think won’t work as the slip isn’t sinking in.  I made a small flowery sample out of wool which seemed to work well.  The other two bowls I made from felt.  these are somewhere in between and I am not sure if they are going to work.  I plan to dip them in slip again today and if the samples work I plan to make a bigger bowl and maybe a colander in this way.

Ceramic Side Plate

Today I took my first cast from the plate mold.  I was quite excited to see how this turned out.  Unfortunately though the 3D print was too thin to take a slip cast from.  It was very difficult to get the plate from the mold afterwards  because it was so fragile.  The end result was it cracked on the mold and ended up in the recycling pot.


Second time round Sean helped me built a 5mm wall around the mold to thicken the piece.  This cast really well despite a small bubble in the clay and one wall being too thin because of the mold not being on straight.


I removed the thin edge that fell off and cleaned up the plate.  I am very happy with the result, however I am going to print a thicker plate and remake the mold for a full run as it will be very time consuming to build a wall on the mold every time and also a bit risky as to if they will turn out ok.

The plate is now drying off and will be bisque fired soon.

Side plate mold

This week I have been working on the mold for my smaller side plates. Firstly I prepared the board and stuck the 3D printed plate down with clay.


  I built the side panels and cast the plate with a pour hole.  When I took the mold apart I realised the plate had lifted during the pour and I had to then start the process again after digging out my 3D print.


The second time round the process seemed to work well and I left the mold to dry off for a week.


Ceramic Update

I finally got my shot glasses back from their third and final firing.  Again they are a little smaller than I had hoped .  Some are more useable than others but I have enough for a collection.  I am really happy with the finish on the glaze with the final green added.  It gives the pieces individuality and makes then feel more organic. 

 
I am also really happy with the way the detailing from the rough print has came out in contrast to the smoother mold printed. 


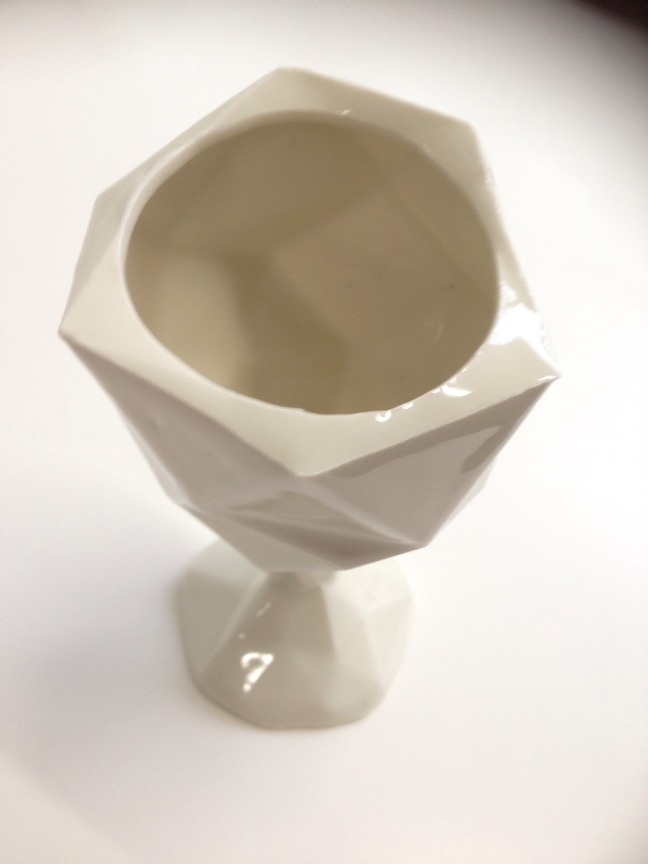
Over the last few weeks I have been having problems with the goblets bending at the stem and touching other items in the kiln.  Although I gave a few of them a knock and they came apart they are imperfect and I plan to redesign the whole thing. 


The pint tumblers are working out great.  I have a perfect set of four now and a few more in the process of making.


Ceramic Ware- Update

Today I got back my shot glasses from their first glaze firing.  I have painted them all  with the green glaze I bought and tested a few months ago.  I decided to paint them all different  to each other so that when they are being used people know which one is their glass.

I am still not having a lot of luck with the wine goblets.  The one that I tested last I left to dry before cleaning up to see if it holds together better.  When I came to clean it up I noticed it had a slight lean and a small crack at the bottom of the stem.  It is still in tact and I have put it in to bisque fire however I am not very hopeful and I plan to redesign the whole goblet and start again to make it stronger.


On the plus side I got back two more pint glasses which I glazed today.  I am very please with how these are working out and I will soon have a set.


Happy Ceramic Day…. So Far!

The plan that I came up with yesterday to leave the goblet alone to dry is so far working.  It was still standing after four hours so I am keeping my fingers crossed that this approach will work. 

 I also managed to cast another pint tumbler today.  I am starting to become really quick at these.  They cast like a dream, are easy to take out of the mold and are also very quick to clean up as they only have two seams.  The following image also shows the goblet I made on Monday which is also cracked at the stem. 

 This afternoon I got all my shot glasses from the bisque firing as well as one of the pint glasses.  I glazed these with clear porcelain glaze.  I plan to fire for a third time with the green glass I used for my test pieces.  I dipped all the vessels into the glaze and then touched up where my finger prints were with a paint brush.  Afterwards I removed the glaze from the underneath by rubbing them on a wet carpet. 

 Shot glasses after bisque firing.

  Vessels after glazing and painting over finger prints.

Slip Casting the Tumbler

Yesterday, alongside the goblet I also managed to slip cast my first tumbler using the three part mold I made last week.  This mold worked perfectly and the final piece was much easier to release from the mold and clean up than the goblet.  It was all over more structurally sound and I was very happy with the finished product.  I have now left it to dry before bisque firing.

  The two molds cast and waiting to dry for 15 minutes.
Cutting off the top edge with a potters knife.

With this piece I smoothed down all the inner and top edges with a sponge before taking it out of the mold.  This kept the all over strength of the piece.  I will be taking this approach with the run of all my final pieces.
 This is the piece straight out of the mold with the messy seams.

  This is the final result after cleaning with a sponge.
  There was some discussion about how thin the tumbler is.  I will be able to review this after firing.

First Goblet Sample

Today I was able to take my first goblet finished sample finished with a tin glaze Out the kiln.  I was very happy to see it standing, despite cracking at the base of the stem several times.  I was fairly happy with the finish however parts of the glaze hadn’t stuck because I should have stirred it a little longer.  I will sample more before choosing my final finish.

 I also managed to get my 3rd goblet out of the mold today.  I cut this to the edges at the top  to the edge of the glass as apposed to round in my first sample.

 So that the stem didn’t break I cleaned up most of the vessel whilst it was in partial parts of the mold to support it.  This approach worked very effectively.  The stem only wobbled slightly when I was putting the finishing touches to the piece.

 I finished of cleaning up this piece with a wet sponge which made this piece far neater than my previous two samples.  I feel that I am now heading towards the quality I am aiming for in my final pieces.